Well, this is probably the final session on horn building. I will always be available for questions if you have any, or assistance if you should run into a problem or glitch.
Anyone who wishes can copy and use this piece as you want.
The good thing about working with horn is that you can really not mess it up. If it does not come out like you want, then tell everyone that is what you envisioned.

You can go much more into detail than we have here, just don't try to force the horn to take on designs that don't fit it.
As for the final finish, we are fixing to cover that. If you want more shiny if you will, you can use something like a buffing wheel. Just a note of caution using them. Buffing wheels should be like new and not have any other foreign material on them. Buffing wheels can and will burn horn if you do not rotate and move often.
OK, here we go. This is the bottle brush I use to clean out the inside of the horn. If the hot water from your sink is not enough, try boiling it (outside) for a few minutes, then brush.

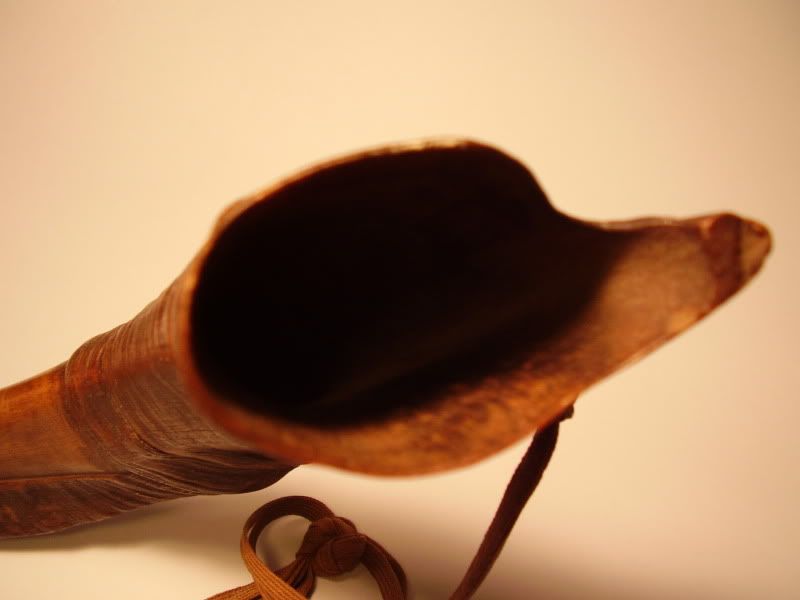
We finished the last segment by rough sanding w/ 80 grit paper. I forgot to mention that Emery cloth is a great paper also. Now tear off a small piece and make sure the inside of the mouth is nice and smooth. Each time you change paper, always go back and smooth the inside of the mouth. Also, always go back and square up the lip and bell ends. Keep the lip edges at about 1/8" thick or you will cut you lips when blowing the horn.

For the final finishing process, I like to use foam sanding blocks that are medium and fine. They replicate sanding paper well, but if you use sand paper I progress from 80 grit, to about 160 grit and then 320 grit before using either OOO or OOOO steel wool. With each, always go back and complete each process as outlined previously.

I also like to use the sanding pads as pictued here. I forget what they are called, but they work great and I use them right before I use the steel wool.

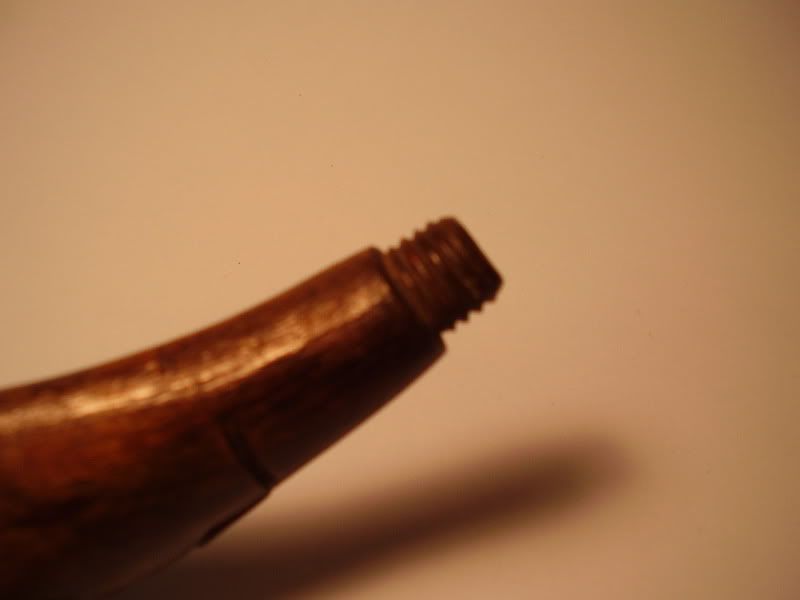
At this point you may notice that your rings are no longer uniform in appearance due to sanding. Take the files that you originally used and go back and clean them up. Just lightly now.

Then wrap the paper you are using at that point around the proper file and smooth out the file grooves enough to get out the file marks. It does not take much.


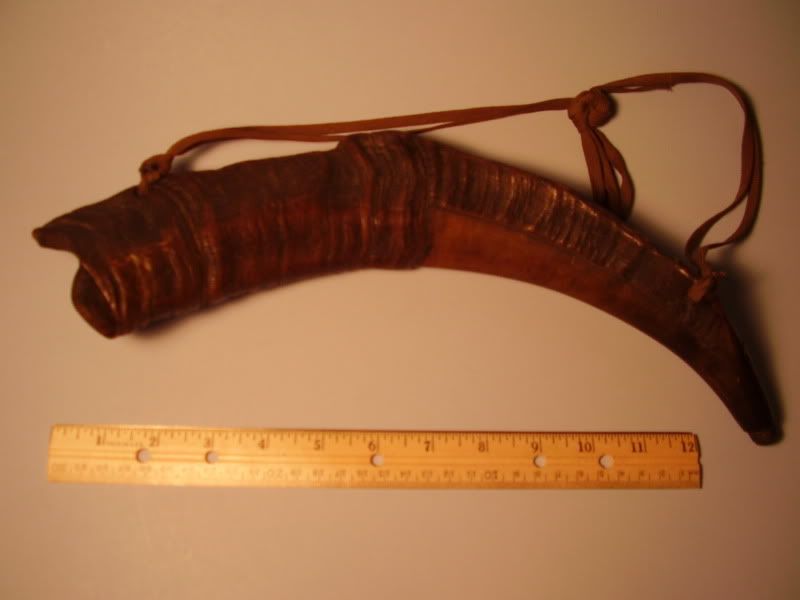
Once you are through sanding and buffing with the pads, start with the steel wool. You will end up with this.


I stop at this point, as they are very nice. I also wait and see where the horn is going and what final steps I want to add to it such as lettering etc... For the most part, you are finished. You can steel wool it more, but it is about as shiny as it is going to be unless you use a buffing wheel.
For final finishing and long term care, you can wipe it down with baby/mineral oil ocassionaly and that will really make it shine.
Now, if somone can get Hobie to chime in and tell me what to do - I will donate this horn to the Leverguns site for an auction or whatever to help Paco pay for the server/site fees.
Have fun with horn.