The last post I had just punchced the holes for the belt loop on the back of the holster. This next picture shows where I've taken the groover and grooved the inside of the holster where the stitching will go so it too will sit below surface level.
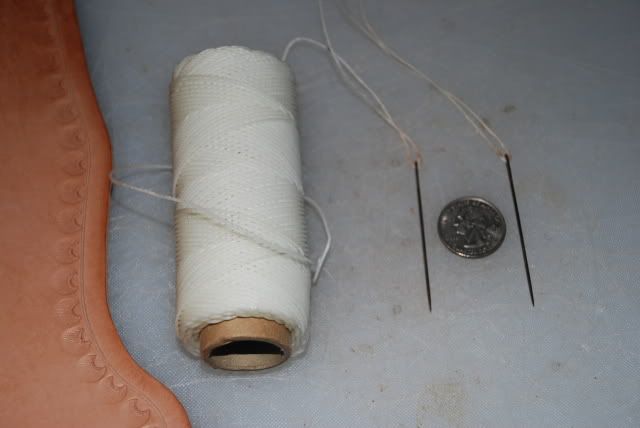
Here is the waxed thread I use along with the two needles. The needles are rather on the large size, hence the quarter for scale.
I don't use a stitching pony, a device used by leathermakers to hold the piece their working on, google it. It's a pretty simple affair most of the time. I just hold it between my knees and rotate it as I go along. The stitching comes through the punched holes from both sides, one needle in the hole one way and the other through the back side. I start with a couple of holes at a corner and start the process.
A side view showing the thread through the same hole. This is the view I have as I'm stitching. I turn my head to get a location of the hole on the outside of the holster as the hole is more pronounced there and easier to see.
Showing me just a few holes from the beginning. I leave a little hanging out as too long of ends easily get tangled in your thread loops. I pull the thread firmly, but not too hard. You'd be surprised how easy it is to pull the thread through the leather and your screwed. I attempt to keep my tension the same throughout the stitching process so it looks the same. Not that hard, you'll get a feel for it as you go along. Just don't pull too hard.

This shows the belt loop stitching completed.
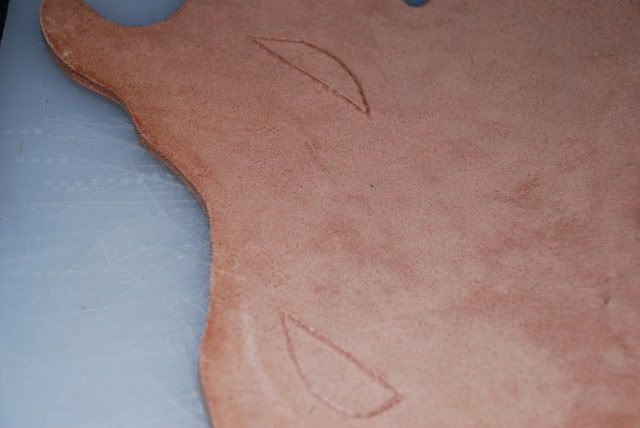
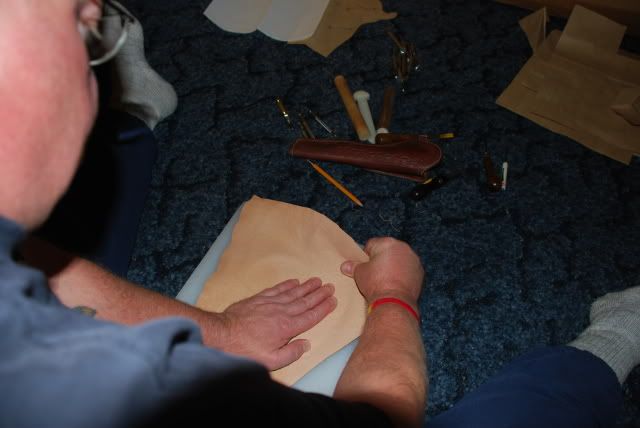
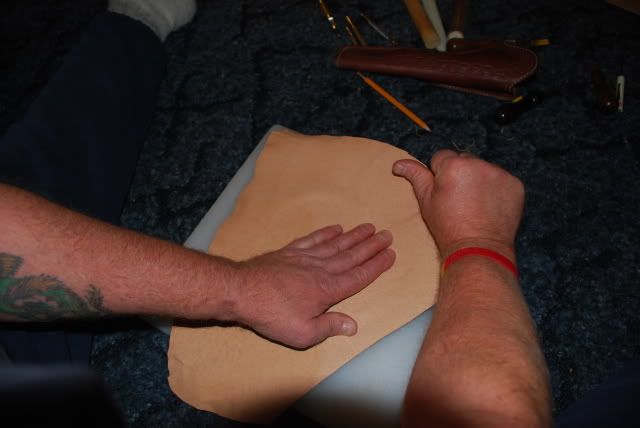
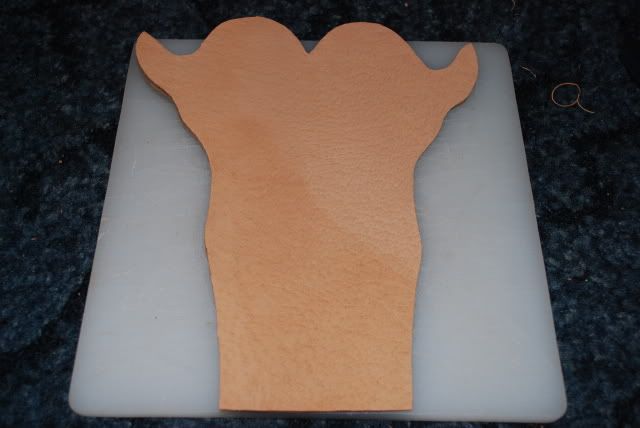
Now for the lining. I laid the holster onto the pigskin and made a tracing of the holster. I cut the lining a little larger than the holster using a pair of scissors.
I then put the cement on both the holster and the lining. As you can see I only put the cement on the lining inside the tracing. I try to keep the cement from going all the way to the edge of both pieces. I get close, probably with 1/8" of the edge but not all the way. Be careful with the cement as it's extremely sticky and it doesn't like coming off of the leather. So if you get it on the outside, you'll be working with some acetone to try and get it off.
After giving the cement some time to cure (remember). I lay the lining on the holster. I started at the bottom and worked up, from the center out, stretching it as I go because if you didn't when you fold the holster over it will have a tendency to bunch up on the inside.
Another picture showing me applying the lining.
After making sure the lining is securely cemented to the holster, I cut the excess off from around the edge using the linoleum knife.
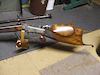
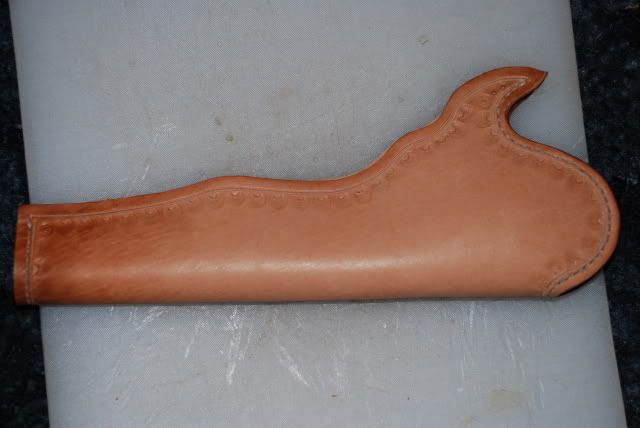
How the holster looks with the lining glued on and the excess removed.
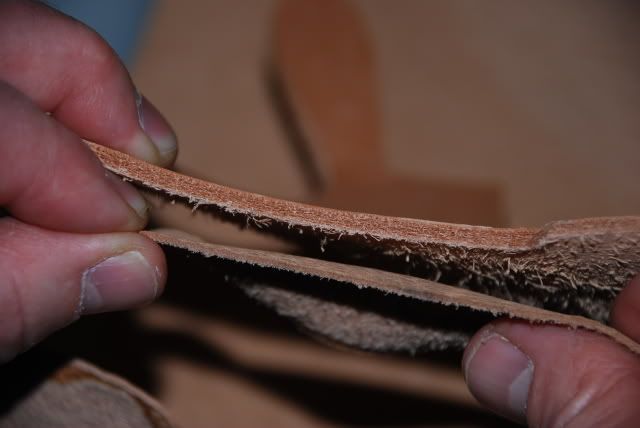
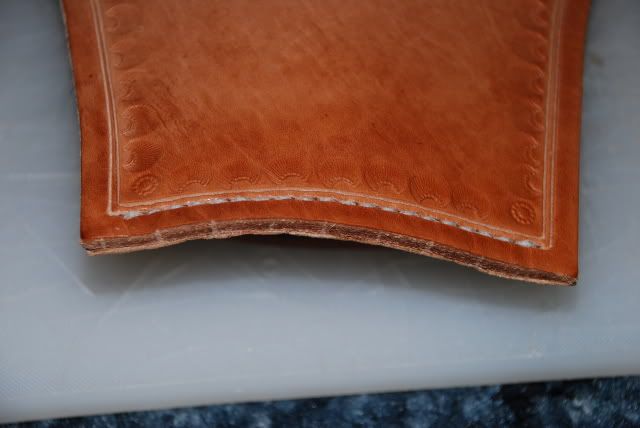
A shot showing the difference of thickness between the holster leather and the lining.
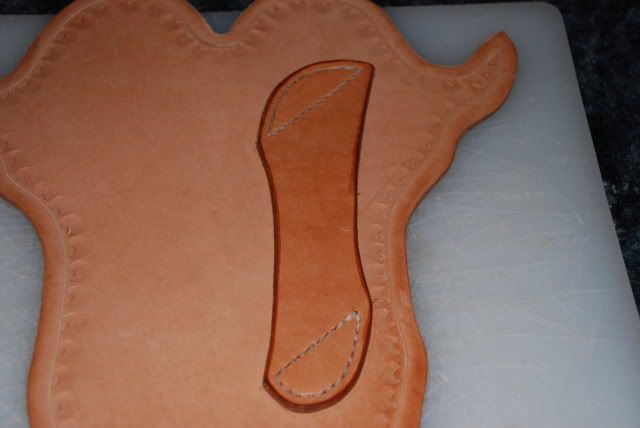
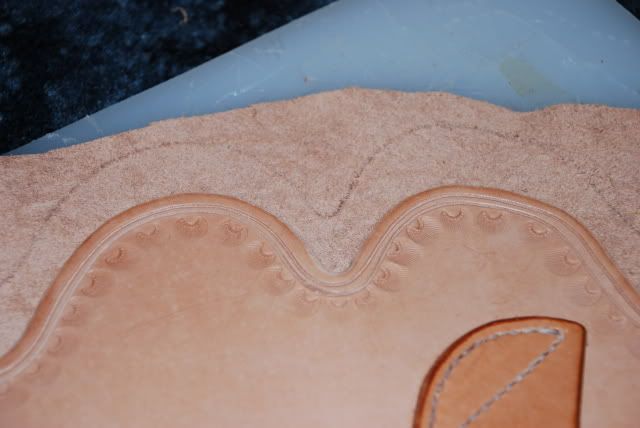
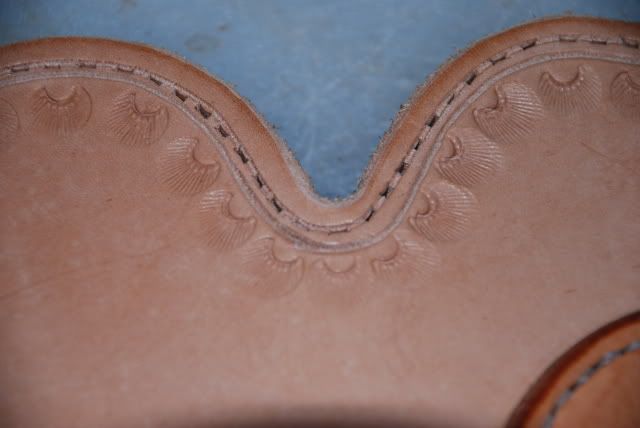
I have to stitch the top and bottom of the holster now before it's folded or it's almost impossible to stitch. So I punch the holes and sew them now. You'll notice I cut a second groove for the stitching as the first one was supposed to be decorative with the stamping. The edge may get a little tight.
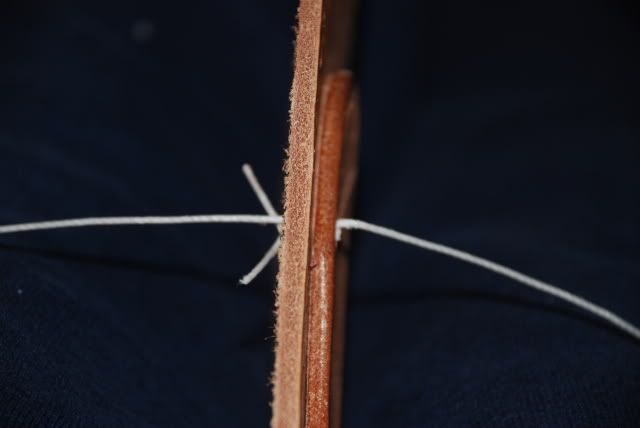
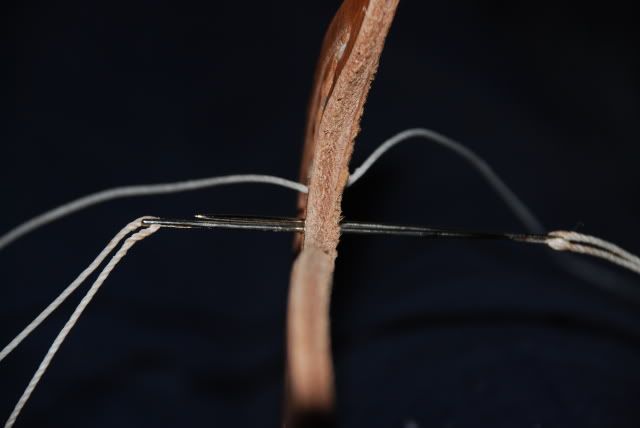
I'm trying to show the two needles as they both through the front and the back of the punched hole. You only put one needle through at a time. I put the two of them like that to show they go through the same hole but opposite directions.
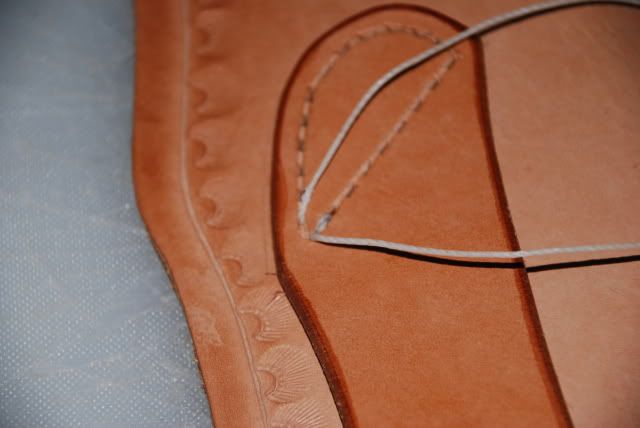
Stitching done for the top.
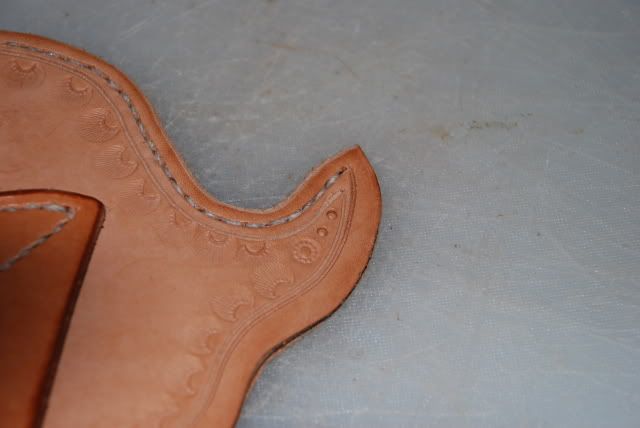
Stitching done for the bottom.
I put some cement on the inside of the edges, both sides, allowed it to dry and then folded the holster together. I'll let that sit for the night and let the cement fully bond before making the stitching holes for sewing the edge.
That guys brings me to the end of this tutorial. Hopefully tomorrow I'll get the time to finishing stitching it and then a wet mold to the revolver.