
Like I said I start off with a big brown paper grocery bag.
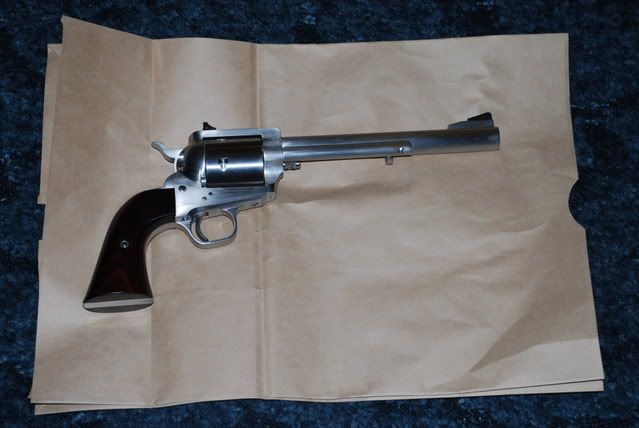
I cut the seams of the bag and lay it open.
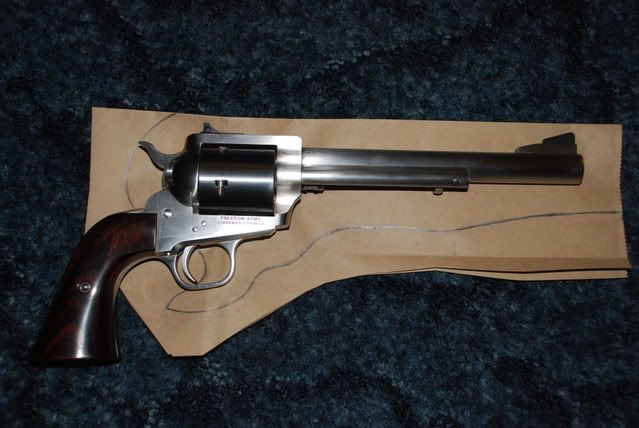
I lay the pistol top center on one of the long straight seams.
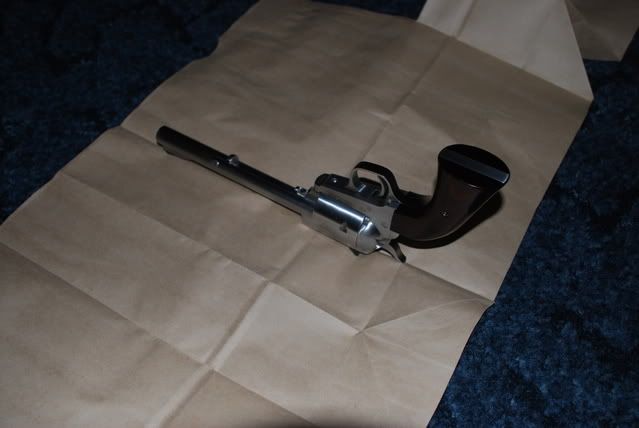
With the pistol laid on it's side, I find my length and width. I then trace what I want the outside of the holster to look like. I like old style holsters and this one will be a slim jim style in cross draw.
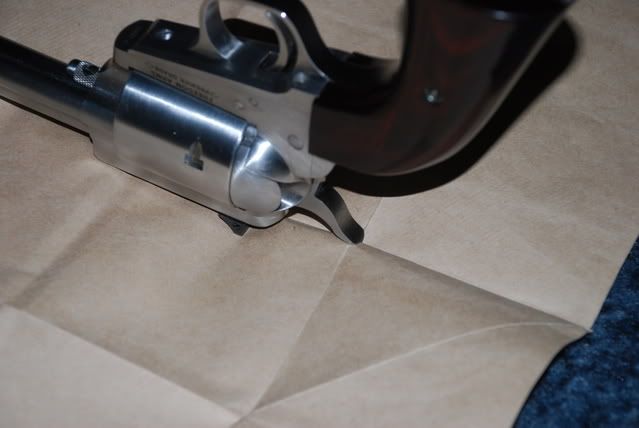
Here's the roughed out sketch with the revolver lying on top of it showing the approximate amount of clearance around it I think it needs.
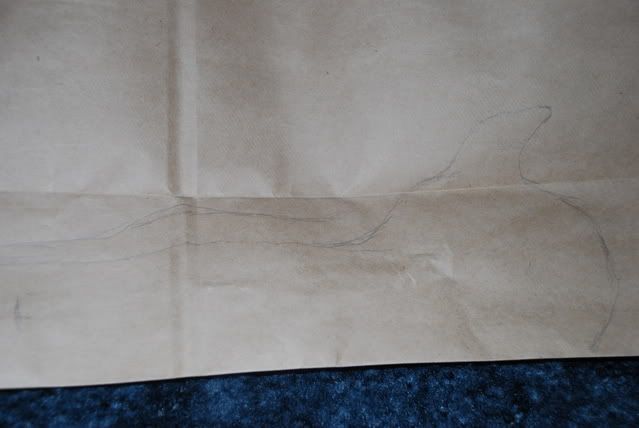
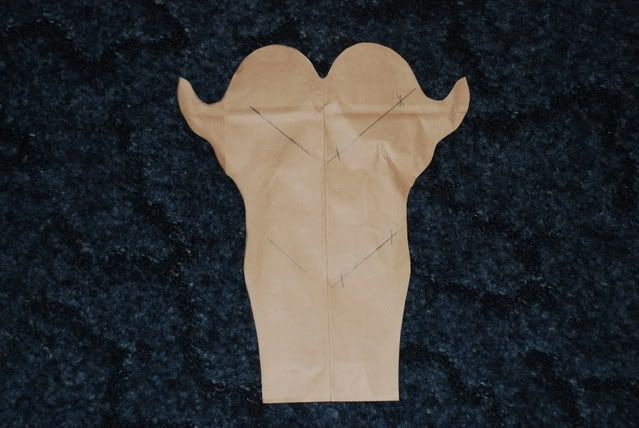
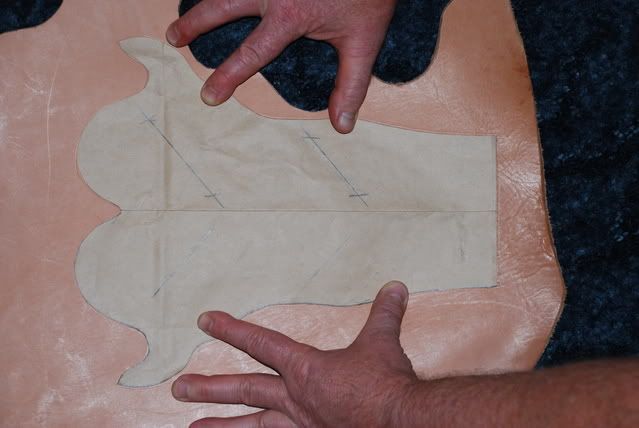
Here's the finished pattern laid out.
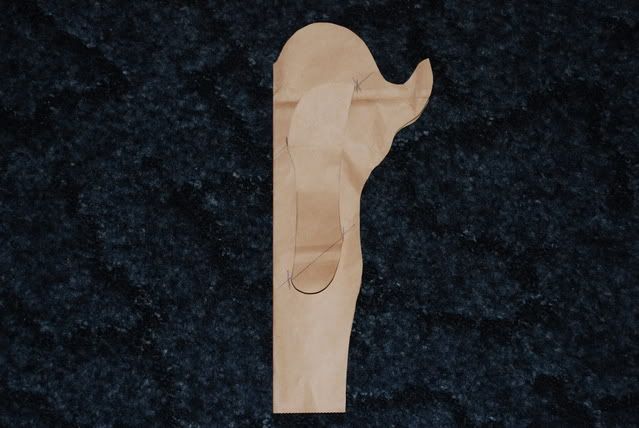
This shows the back of the holster where the belt loop will be attached.
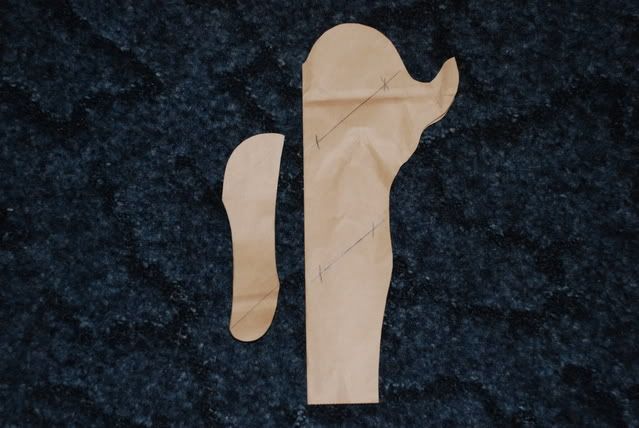
Same picture only showing the belt loop off to the side.
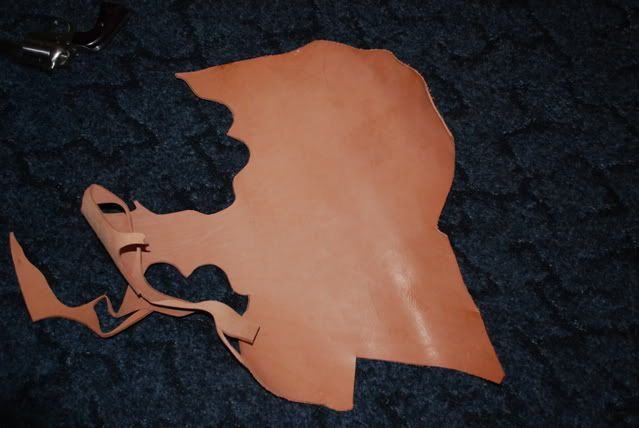
The piece of 10-12 oz. leather I'll be using for the holster. I'll transfer the pattern onto the leather with a pencil. I don't use anything more permanent that that because sometimes I'll show through the finished product along the edge.
I'm showing the pattern lying on the leather.
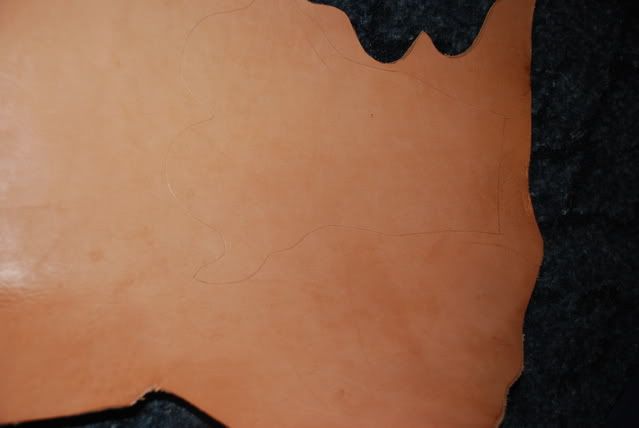
Pattern transferred to the leather. Sorry about the pattern showing up so light. But, that's the way it is.
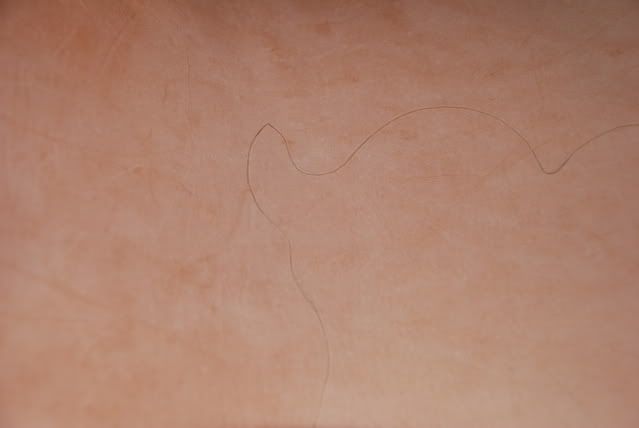
A closer picture of the pattern on the leather.
Tonight I'll try and get another section done. I didn't get much sleep last night so I'll see how far I get. Stayed tuned for the next installment.
