Here's a picture of the new cartridge box (top and bottom) along with the completed one I previously made:
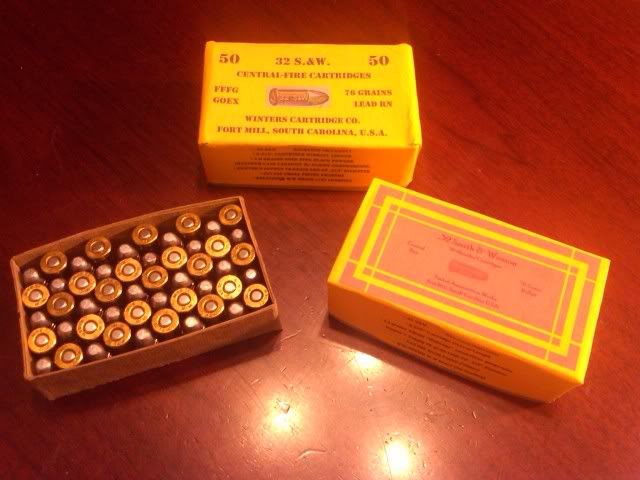
A shot of the top of the box. I got the design idea from a Cheyenne Cartridge Box (background), altering it to my tastes. The print design is similar to the one I did previously.
I like the background, but won't use it again on small cartridges. Might work for .44 or .45 caliber ammunition, since this will be in a larger box, but the print is too small on a box for cartridges of the size of the .32 S&W.
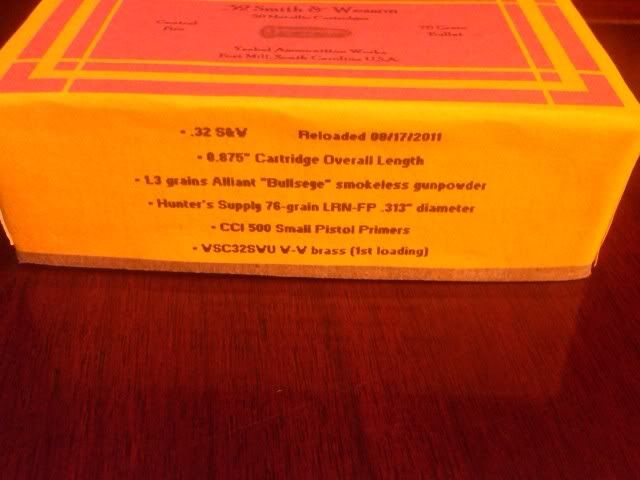
Here's the details on the reload. Just used the same details as on the other box.
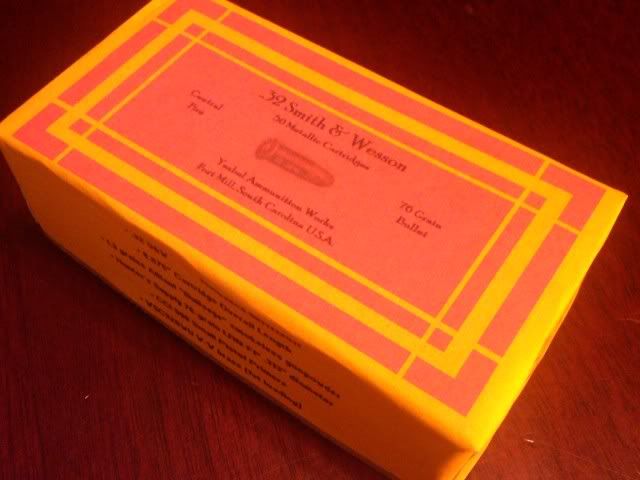
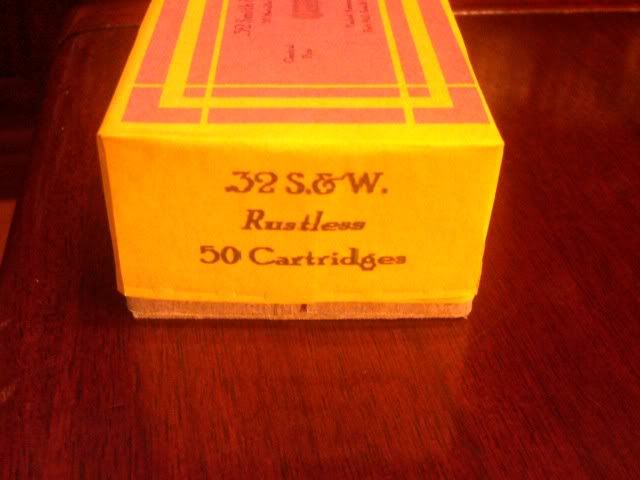
This time I changed the font (not sure if I like it - looks better in person than in the picture). Also added print to each side of the box. Here's one of the ends:
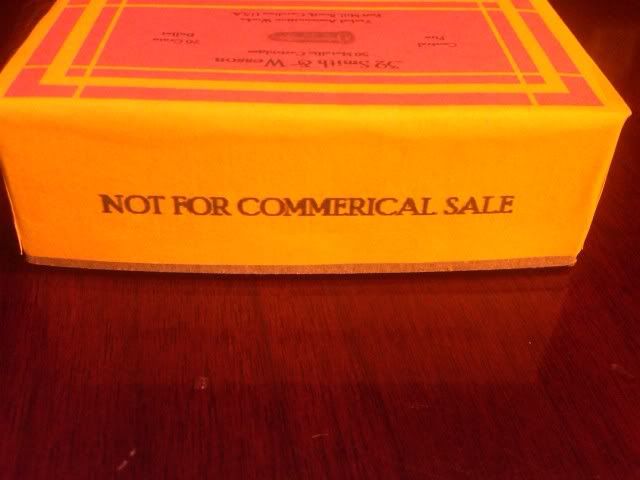
Took some advise from the last post too:
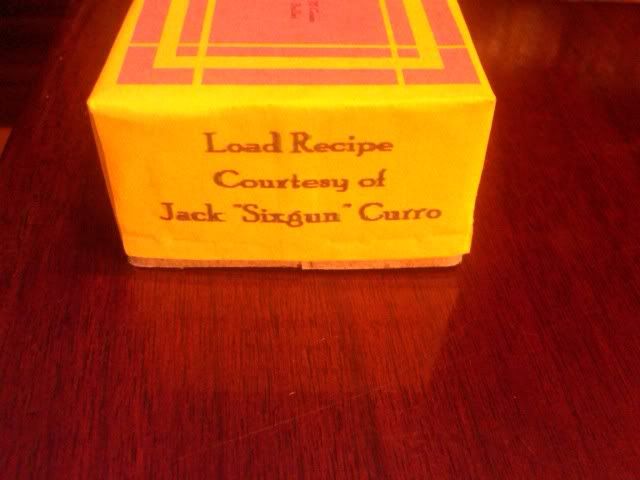
And here is my shout-out for the load recipe!
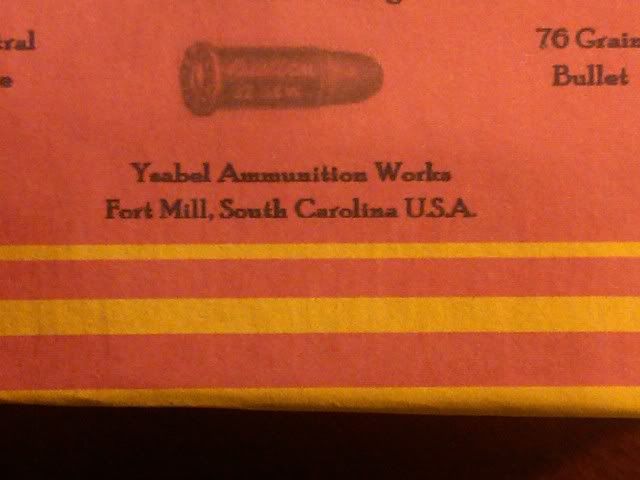
Finally, I decided to change the name of the manufacturer:
Work in progress. Learning a bit each time I do this - and it is fun!