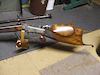
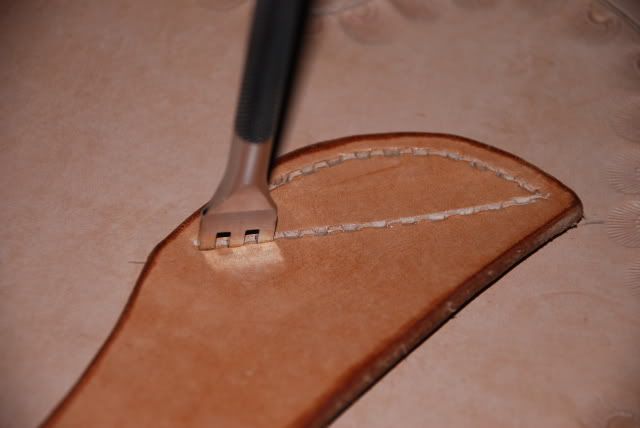
In one of the previous posts I said I'd get a picture of the groover I use. Here it is. There's a small hole in the rod with the 90 degree bend. That's what does the cutting. The string like thing in the picture is the piece that gets cut out.

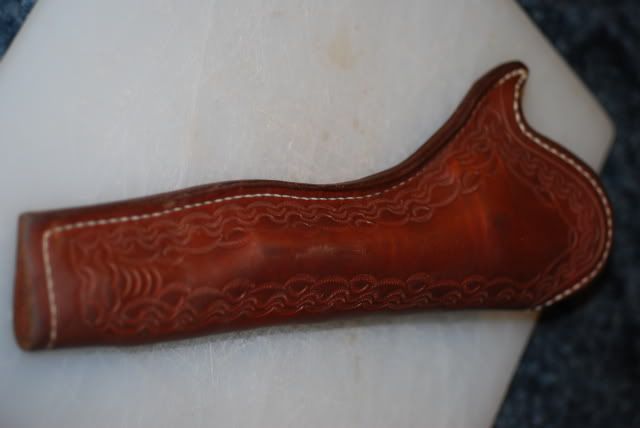
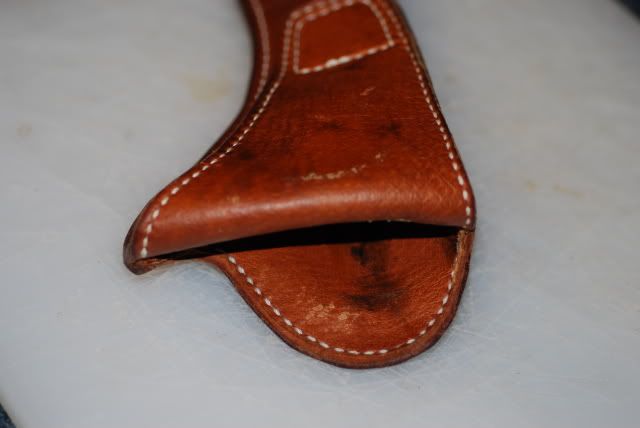
There was also talk about folding the rear portion of the holster half down to make the belt loop. Here's one I did that with, but it's a straight hang style. Front view.
Back view.
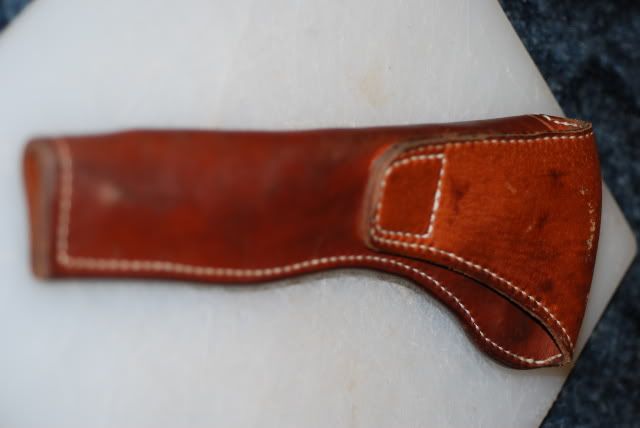
Shot of the belt loop from the top.
Okay here we go with tonights installment.
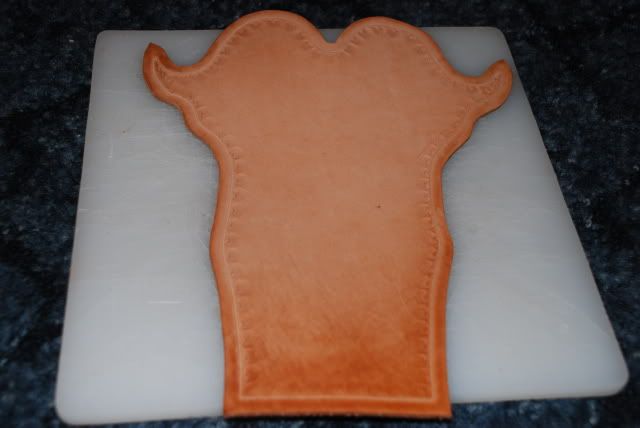
Here's the dried cut out that I wet and stamped last night. I have a forced air HVAC system so it's real convenient to place my went projects on top of a register and it dries it fairly quickly without a bunch of heat. Heat is a bad no, no. You want it to dry slow and controlled.
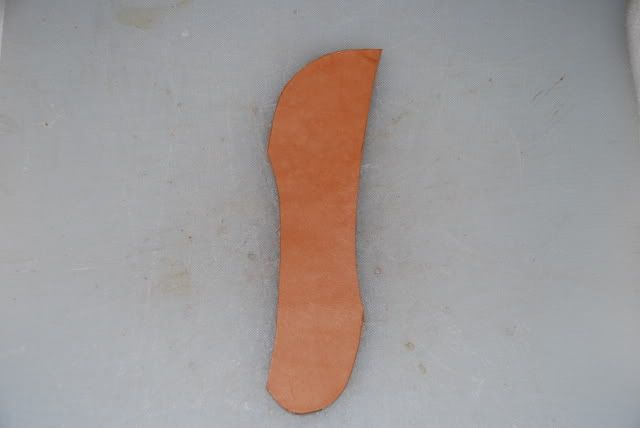
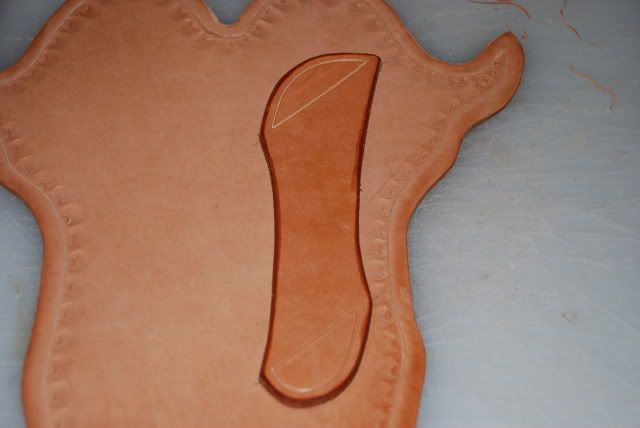
Here's the belt loop. I used the pattern I made, just like the holster and did the same thing, trace and cut.
Next, I edge the belt loop with an edger. This one is a number 3. The lower the number the smaller, vice versa. Edgers are used to give a round smooth edge to your edges (duh). You'll be edging both sides of the piece. Keep the edger sharp and at about a 45 degree angle to the edge your cutting. Go around the whole piece and then flip it over and do the same thing to the other side.
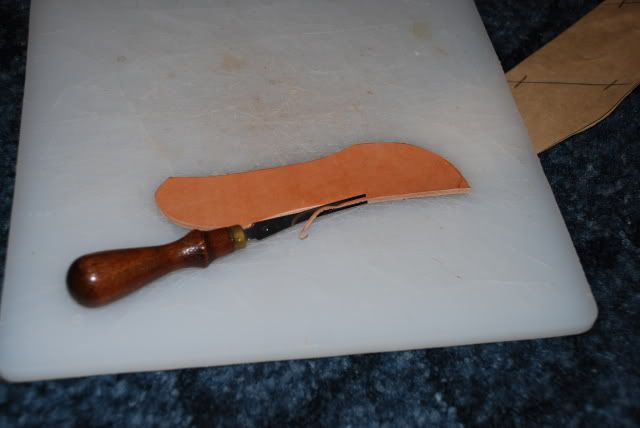
Close up of the edging process.
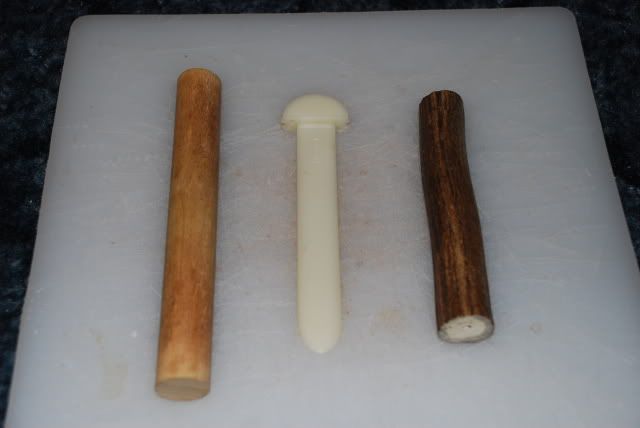
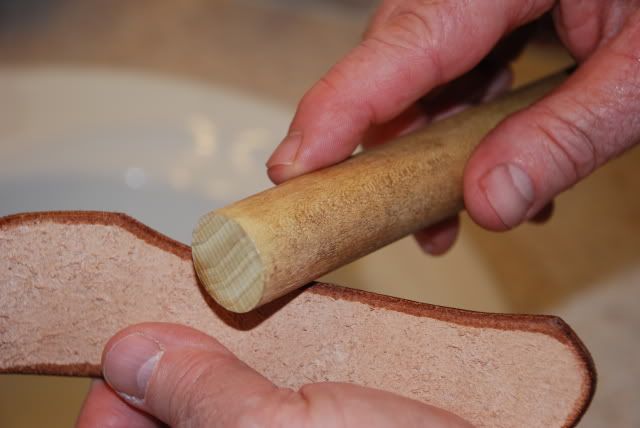
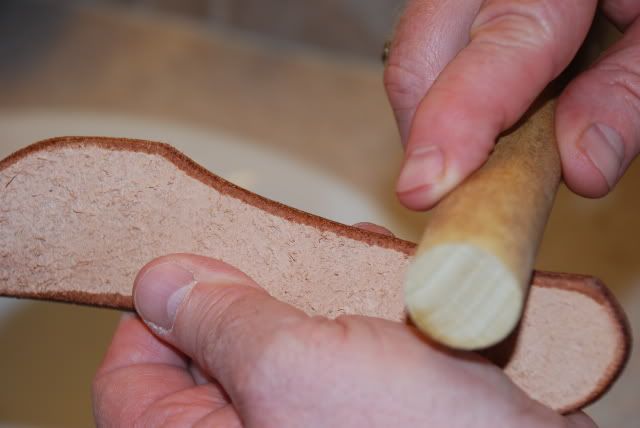
Once the piece is edged on both sides it's time to smooth it. Using some type of slicker. Here are the three I use. One can use gum tragacanth on the edge, but I find water works well for me. From the left, a 1" wooden dowel, a plastic slicker and a sambar stag roll.
I take the piece I've edged and run a little water around the outside edge. Not to much, just enough to get it wet. And then I start running the dowel back and forth over the edge. This takes a little getting used to, but it's easy. It just takes a little practice.
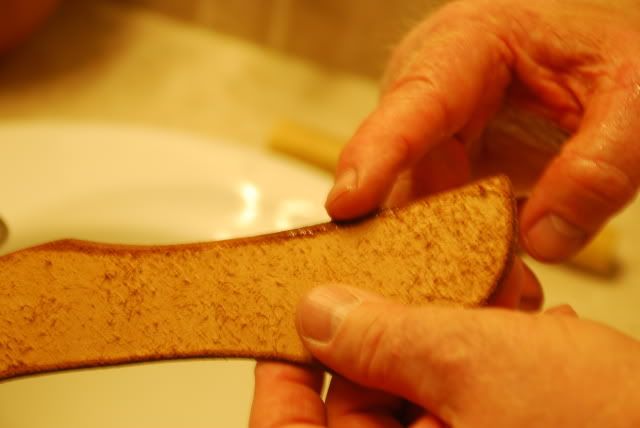
Holding the piece and running the dowel back and forth.
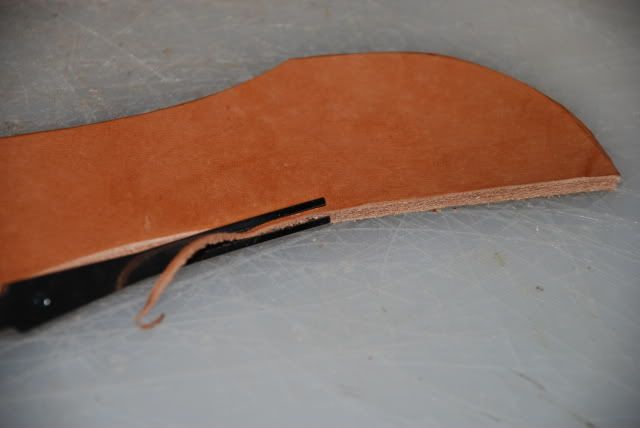
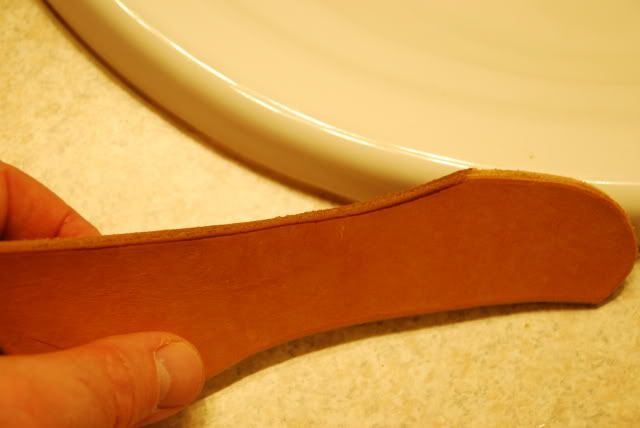
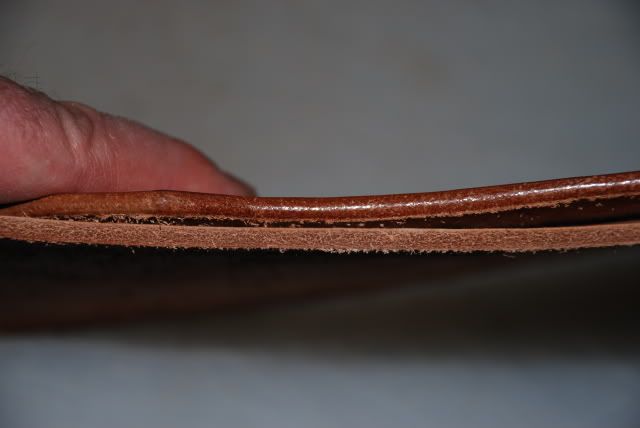
A picture showing the holster edge which hasn't been edged or slicked yet and the belt loop which has.
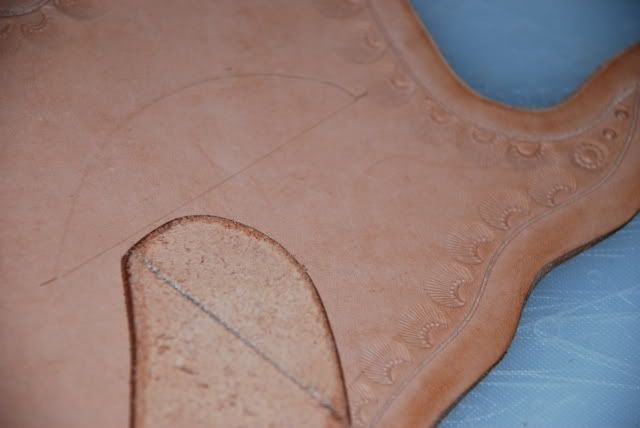
Now that the belt loop is edged and slicked it's time to locate where I want it on the back of the holster. I used a punch and punched four holes at the ends of my holster pattern where I'd made the lines to locate it earlier. I placed it on the holster and made four marks at the ends of the two lines.
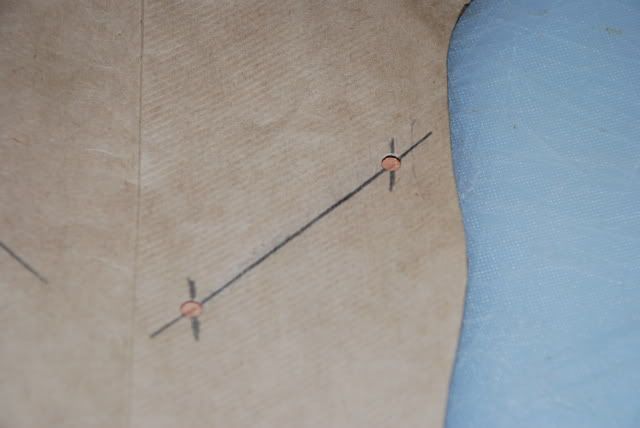
Then I laid the holster pattern back on the holster leather and made a mark at each of the four holes.

I then laid the belt loop on the holster and drew a pencil line around the ends that are going to be glued and sewn to the holster.
I use Barge cement and put some inside the area on the holster I drew with the pencil and on the back of the loop itself. Now, kind of important let the glue dry some, letting it dry longer is better than shorter.
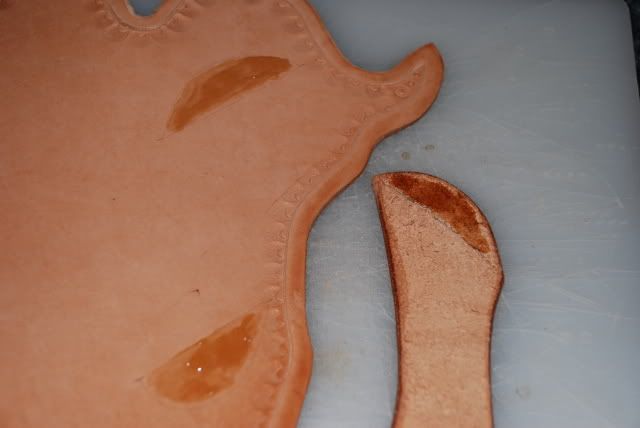
When the glue is dry I carefully place it inside the pencil sketch I've made of the loop on the holster and give it a little pressure to bond the two pieces together. Do this once because this stuff will almost literally pull the leather apart than separate at the seams. Then I use the groover and cut an edge for the seams like I did on the front of the holster already.
Then using hole punches I punch the holes where the leather will go. Now if I had my shop I prefer to drill the marked holes, but since I don't I use the hammer punches shown here. There's different sizes and some use a marker and awl. I've never done it that way. Some day I'll have to do it and see if it's actually better or easier.
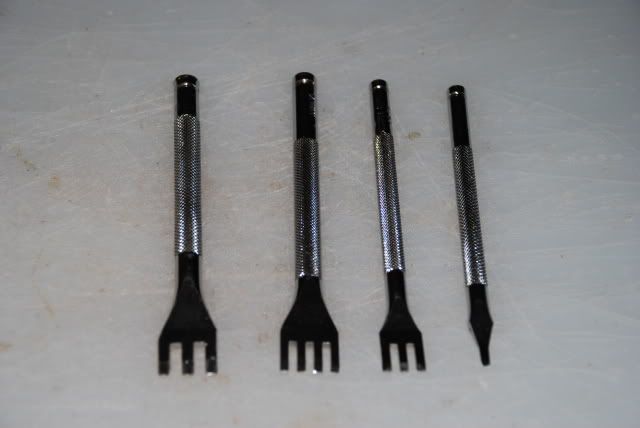
Punching the holes. This again is something that isn't rocket science, because I can do it, but you'll get better the more you do it.
That's all for tonight. I'd like to line the inside with some pigskin but I can't find it. I'll have to look a little harder as I'd really like the holster lined.